Wood Burning Coasters
Some mistakes along the way can teach you a lot!
by JD Porterfield on
Recently, one of my friends celebrated their birthday. I don't see them very often but when I do they've usually gotten me a small, but meaningful gift from their travels. To be honest, I'm not the world's most thoughtful gift-giver, but I wanted to reciprocate this time somehow. That being said, what better way than to make something myself?
Figuring Out My Theme
To get started, I had to figure out a theme. This can be the hard part of a wood burning project since some of the other parts are more routine (well we will see about that a bit later...).
One thing that I thought would be cool was making a set of coasters to represent trips that my friend group had been on together. I decided to frame this the context of food since everyone loves food, and we are pretty big eaters! To find the art, I used a clip art illustration site that I became familiar with after seeing various VTubers use their art: Irasutoya. Irasutoya is pretty cool because they have clip art for everything and their usage policies are pretty good. I'm not sure I would be able to use the art for a commericial project given how I plan to use it but figured it would be nice for this project since I'm not going to sell it and will only be making a set of 4 coasters. Another interesting thing about Irasutoya is that all the art is drawn and maintained by a single artist, Takashi Mifune. The site even has an English Wikipedia page since last year, so I think it has been growing in popularity recently.
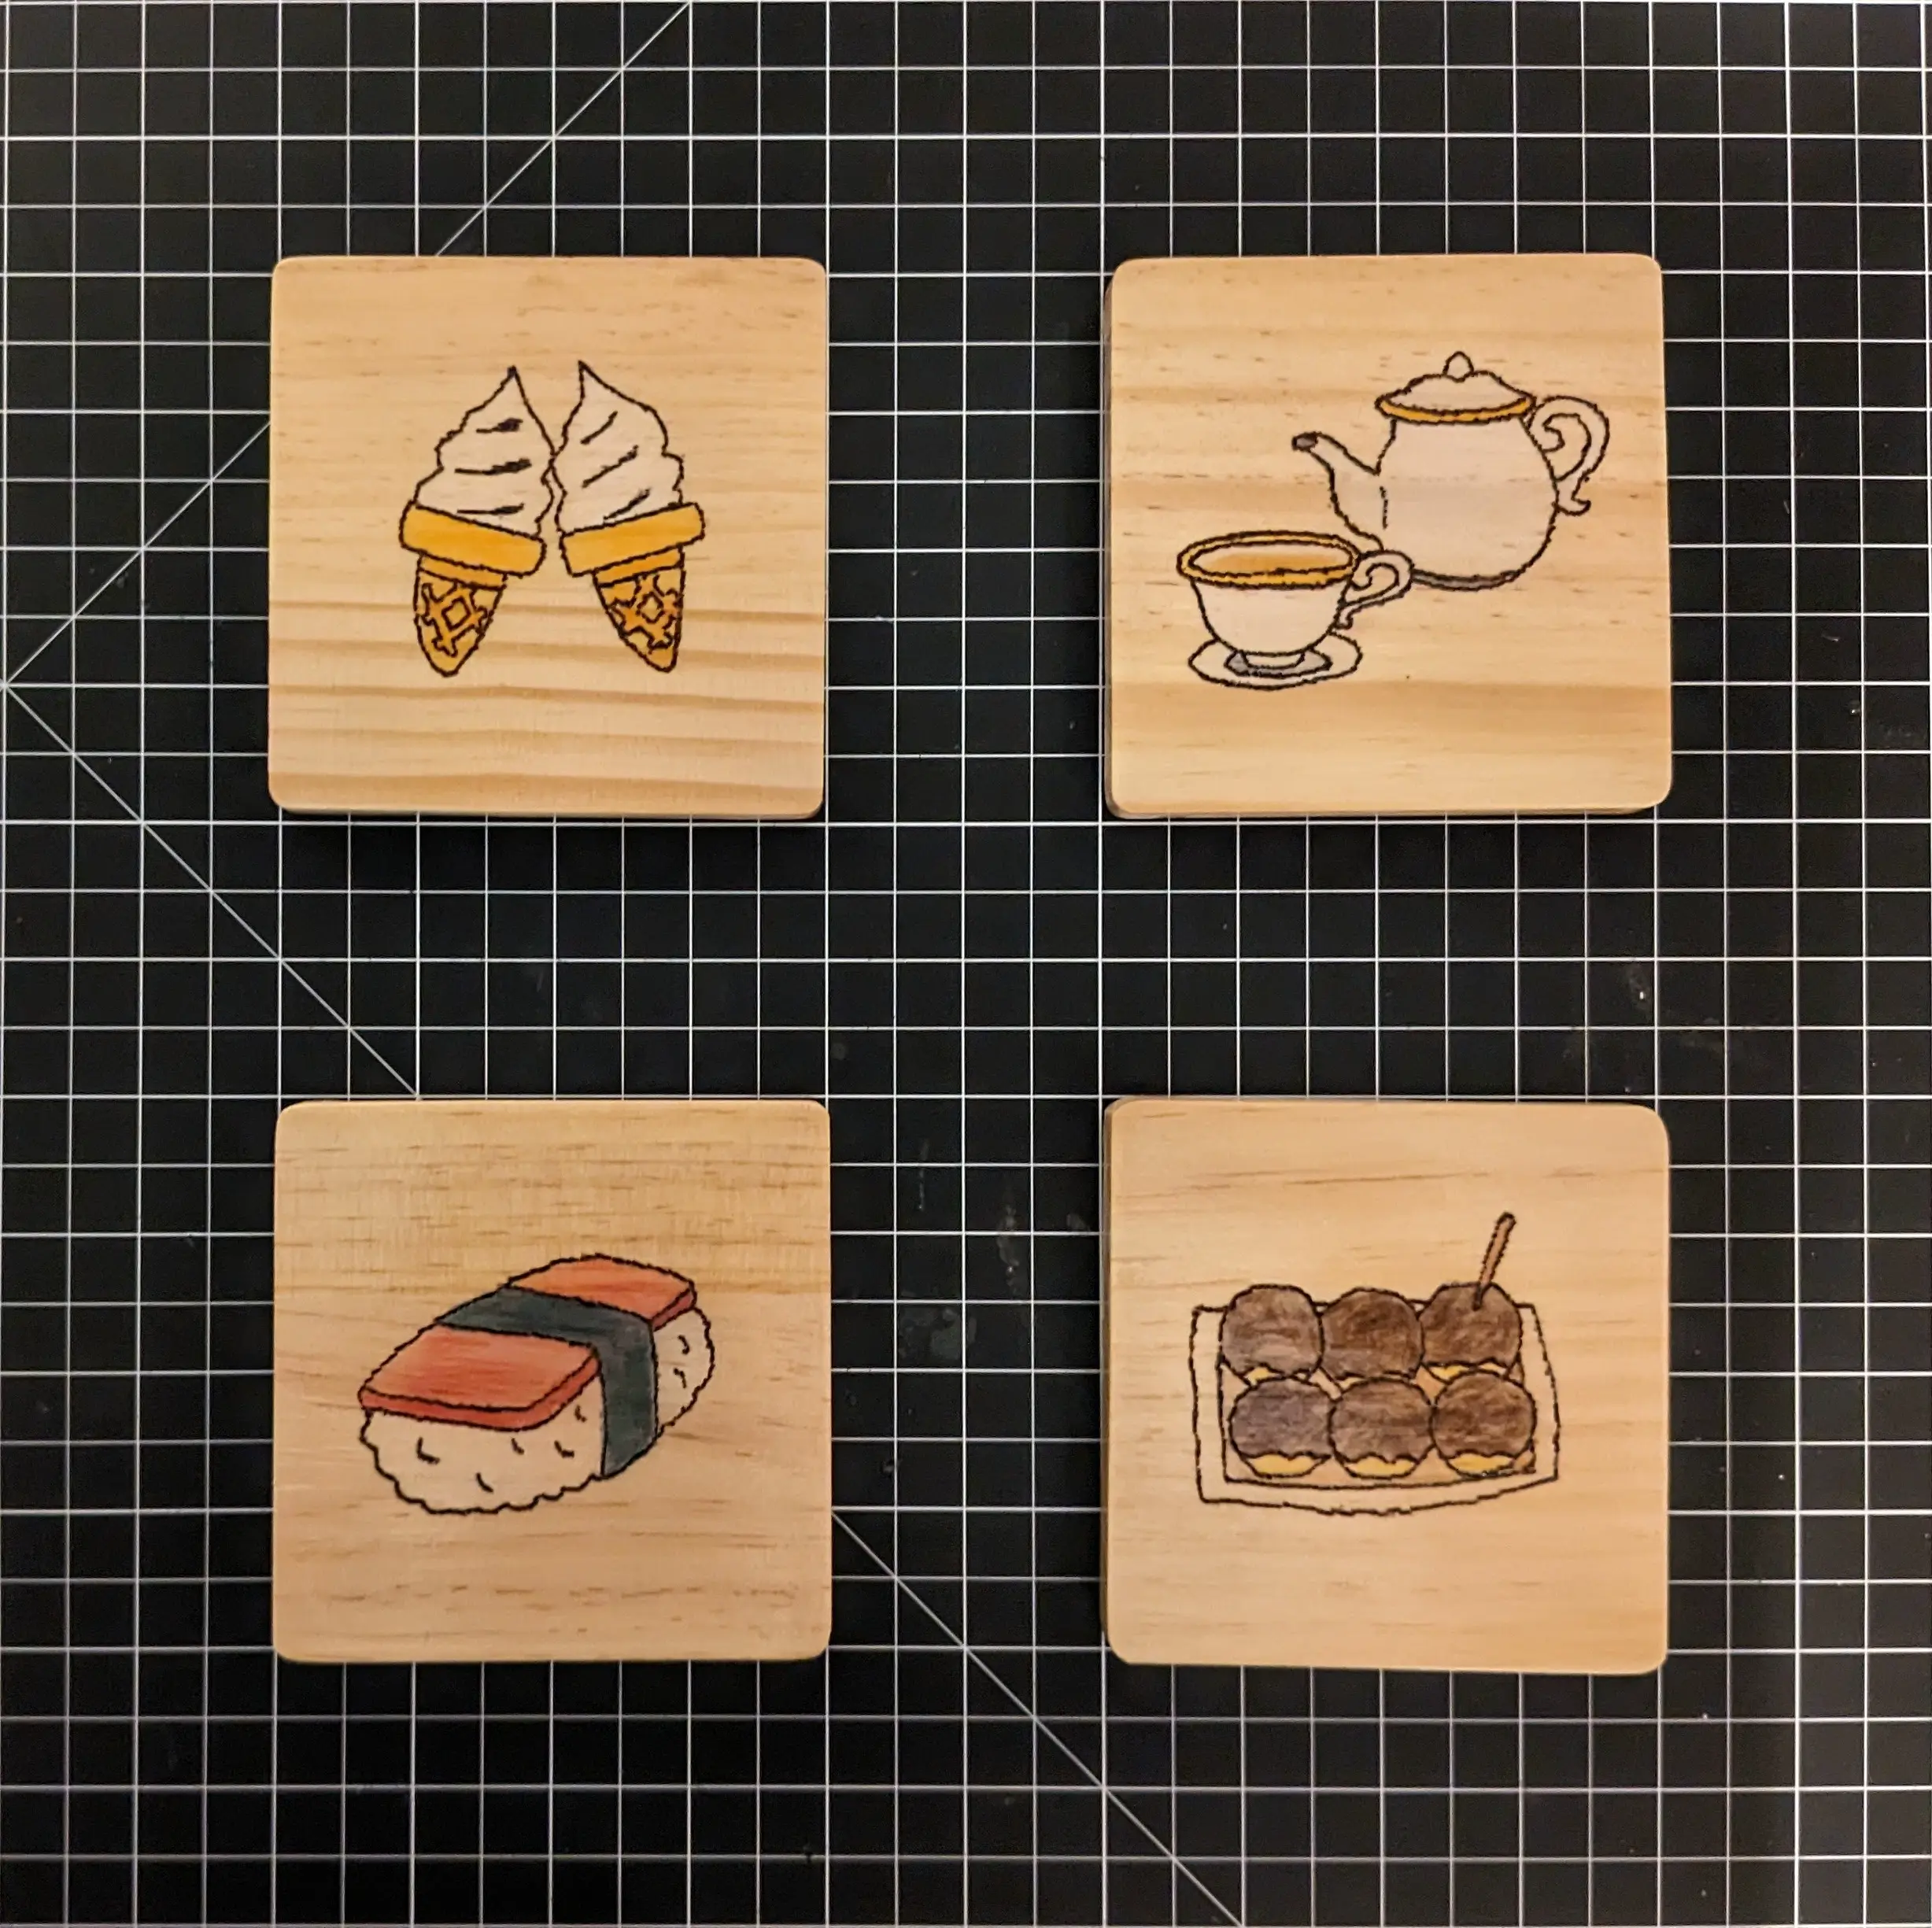
The illustrations I decided to use were as follows:
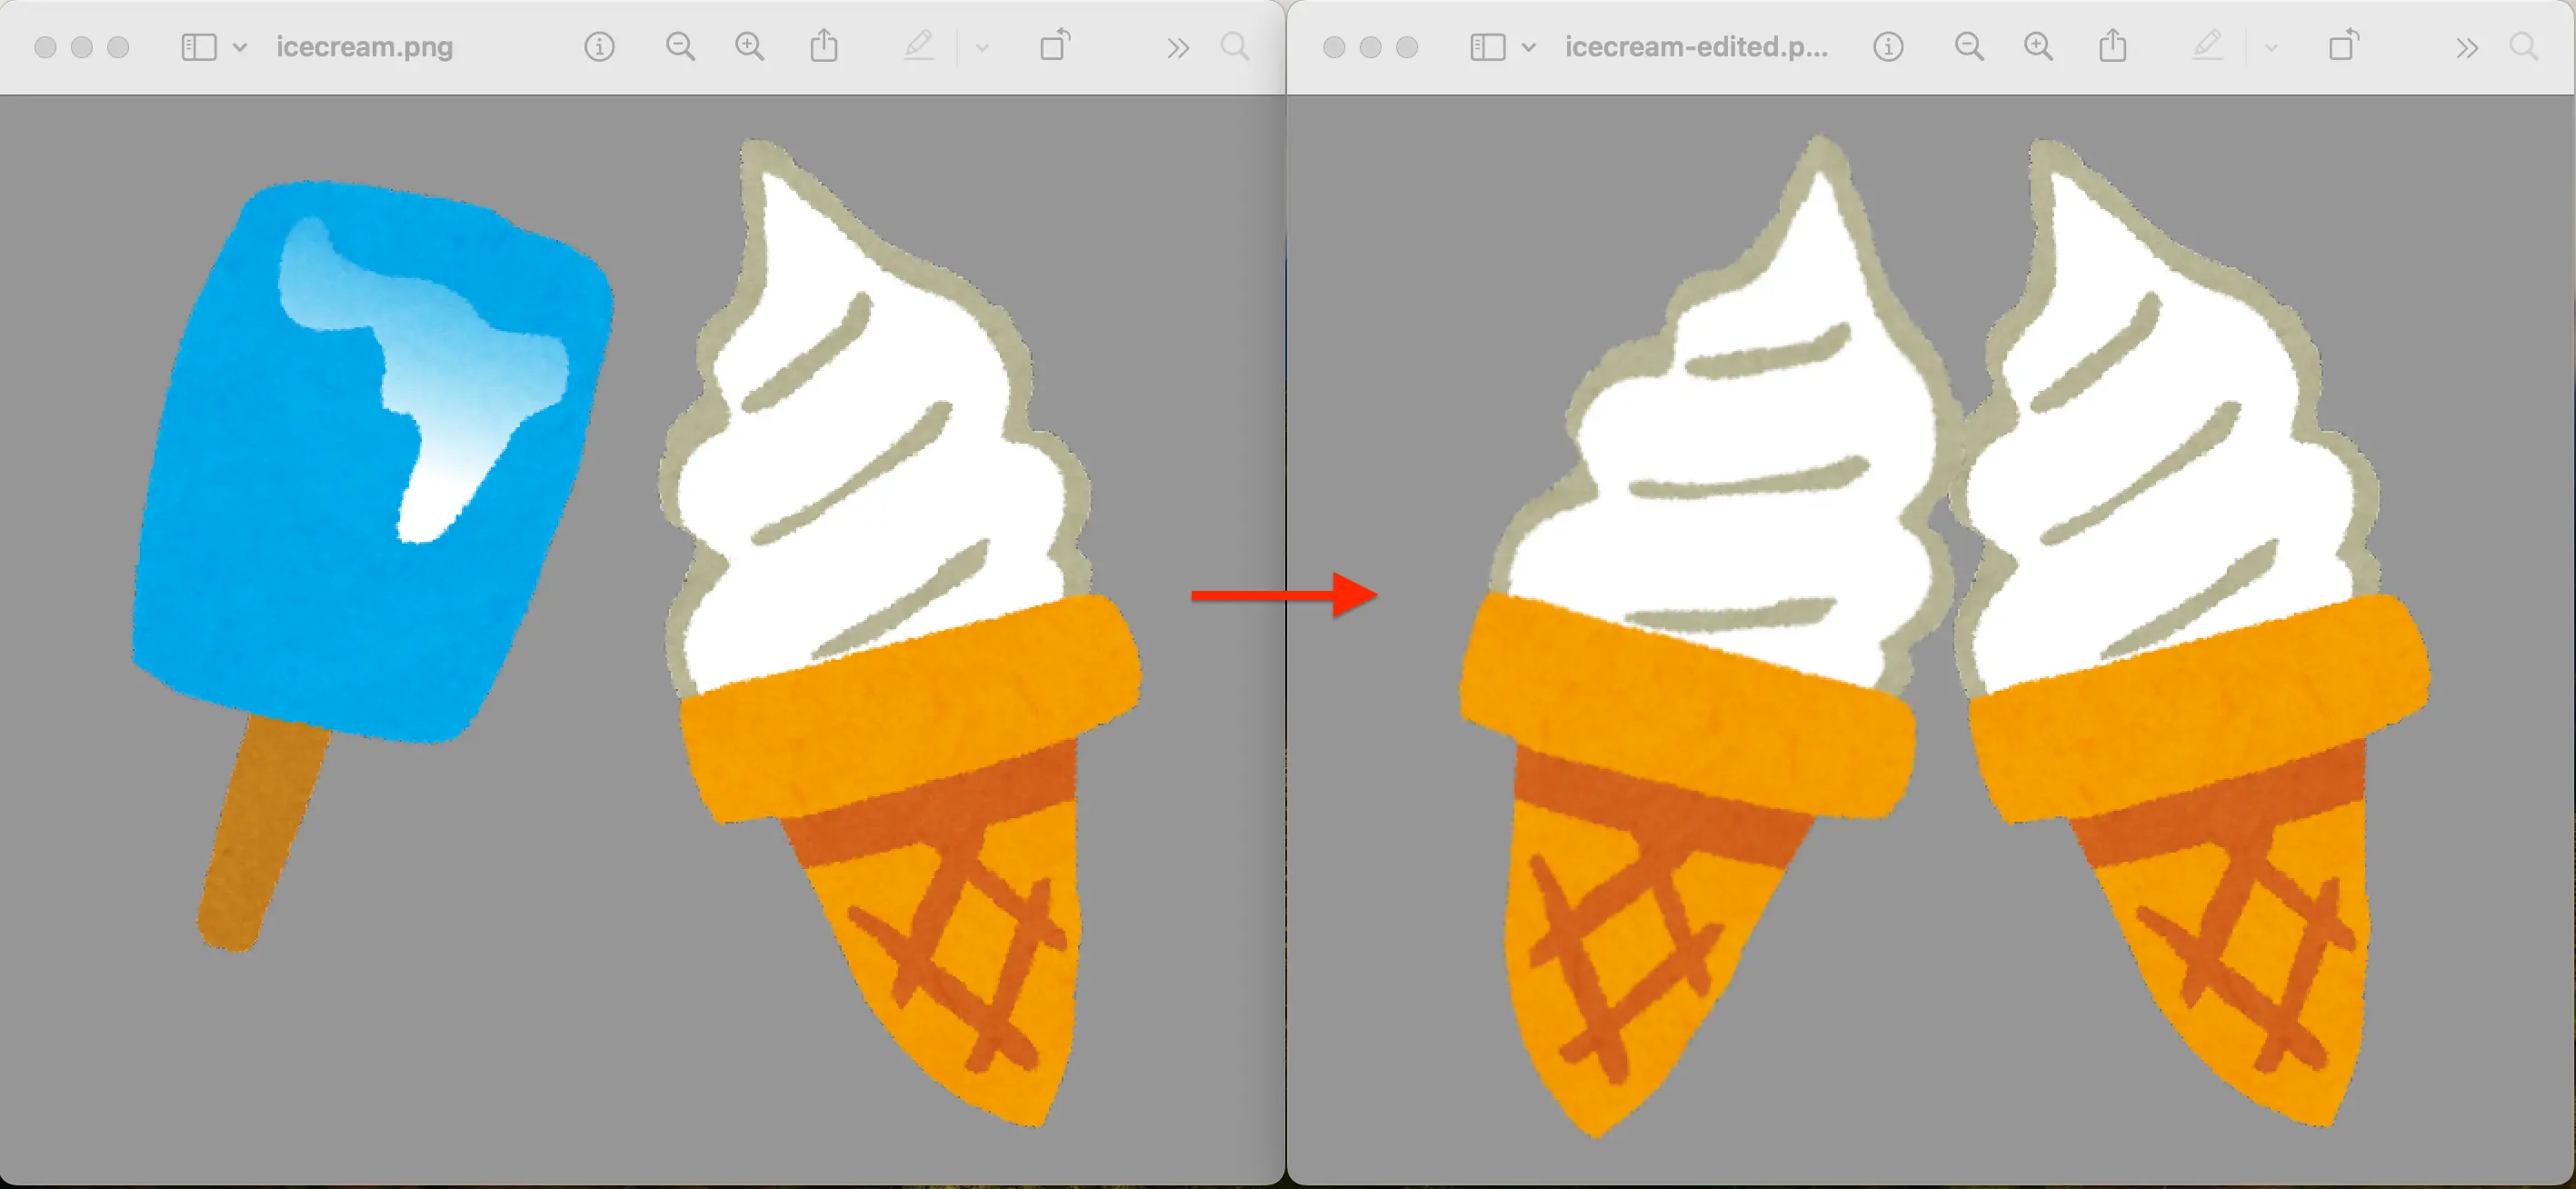
I usued most of the images as they came, but I did edit the ice cream image since we had NOT eaten the type of ice cream on the left, and I wanted to be accurate!
Wood Burning
In general, I followed the process I talked about in my Kokomi article but didn't have to do the step to cut out the shape. If you are looking for more of a how-to, I think that one will be a little more helpful!
After re-scaling the images to fit on the coasters and be sized appropriately for the coaster (and visually compared to each other), I copied the designs to the coasters using carbon transfer paper. Once that was done, I started wood burning using my super-safe setup that you can see below.
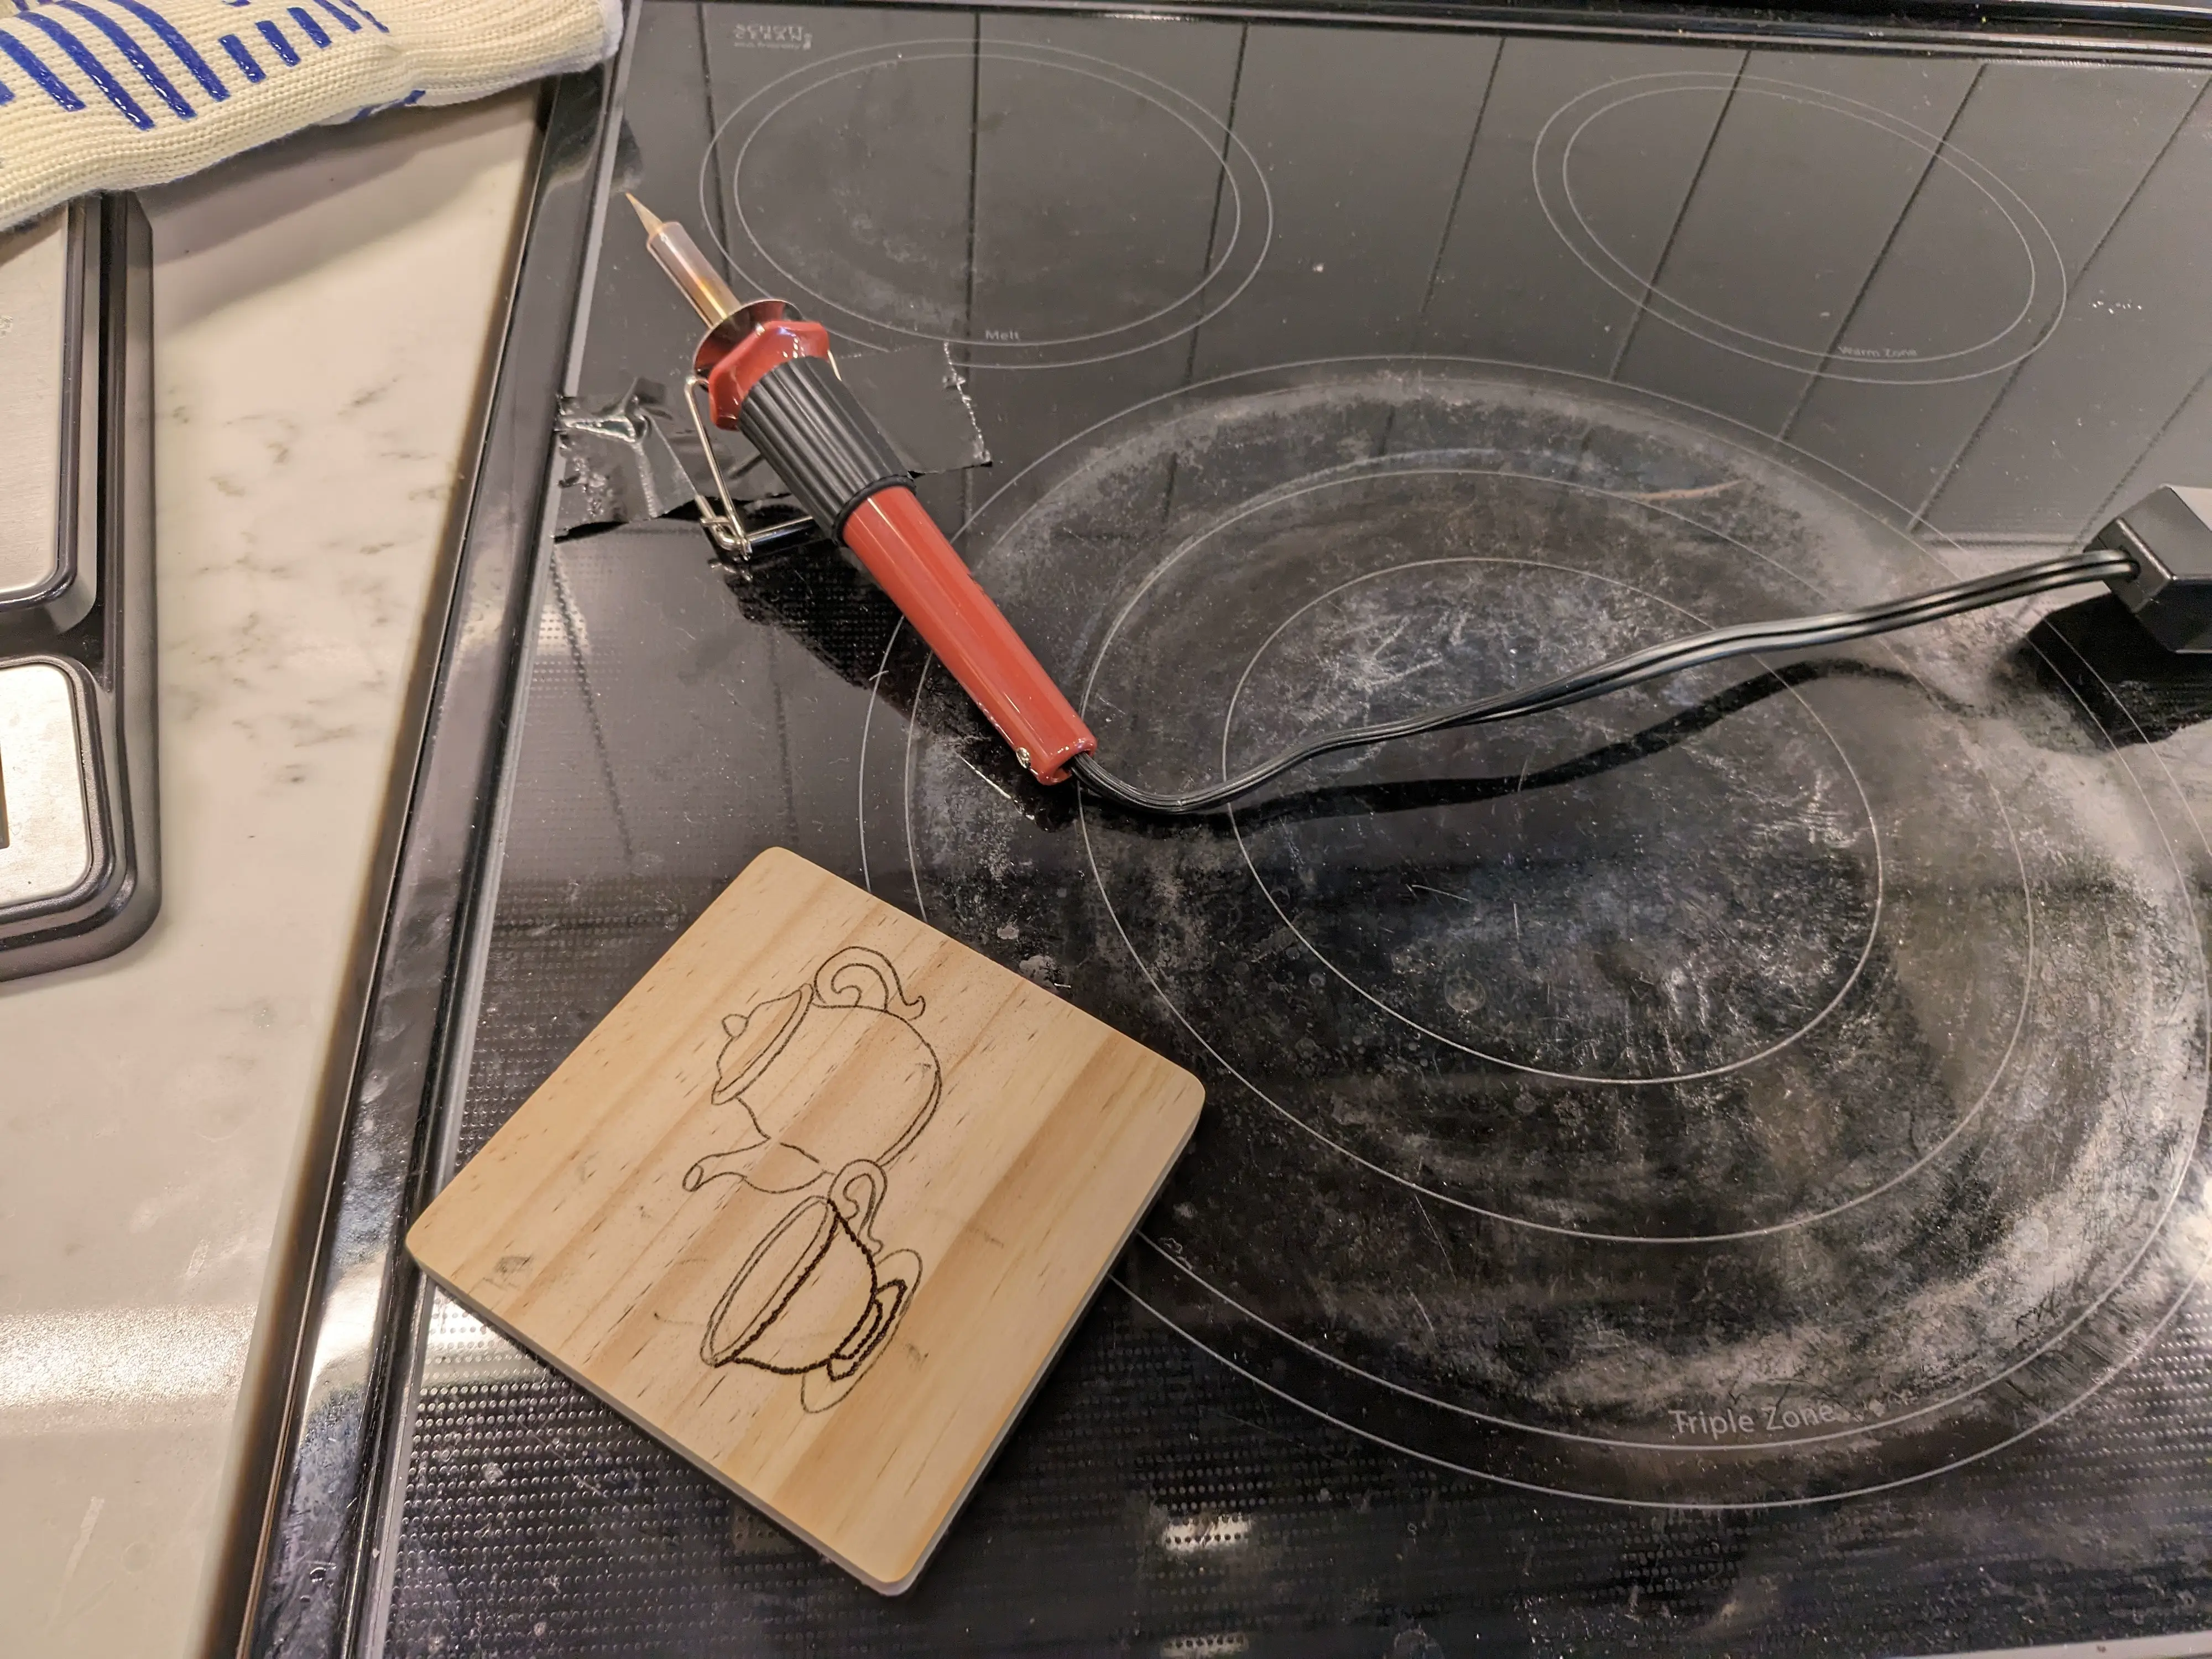
I don't necessarily recommend this setup but the vent hood does provide a small amount of ventilation and the stovetop won't accidentally get burned if I drop the tool. That being said, for safety reasons I would recommend a large fan to ensure you aren't breathing in the fine smoke generated by the process. I'd also recommend not using the stove so that there is no chance of you accidentally turning it on and burning yourself in that way instead.
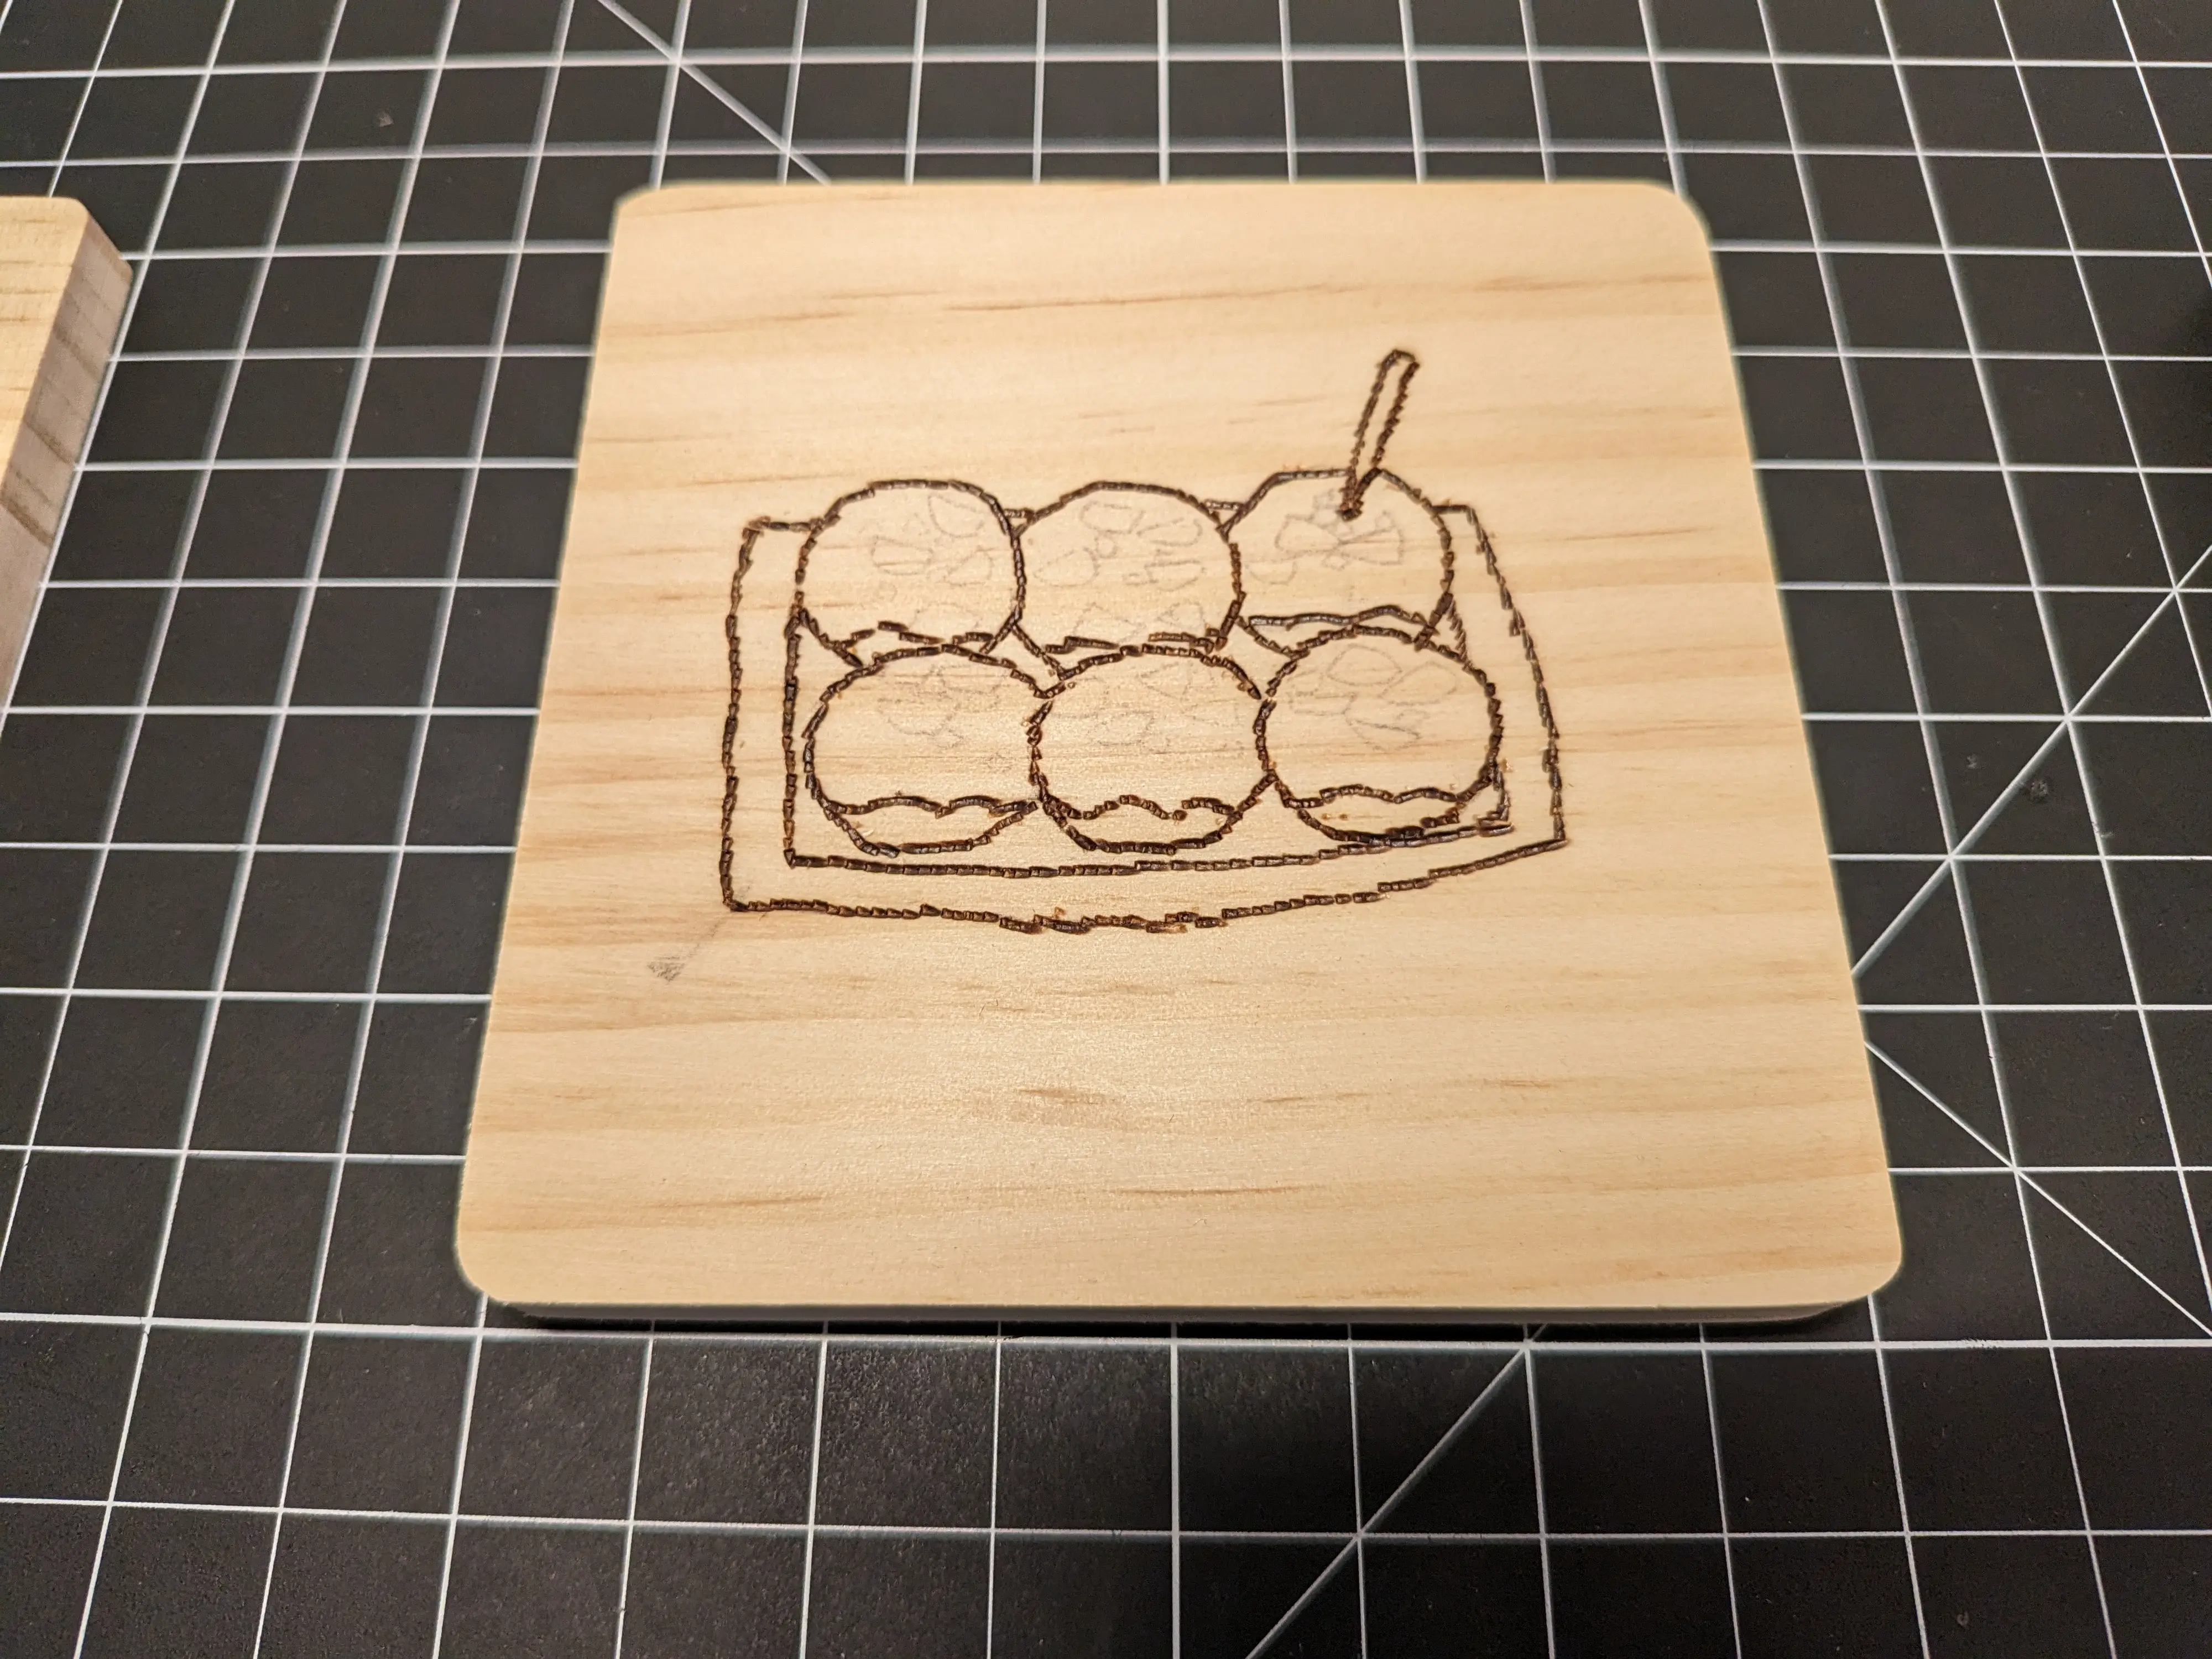
One thing of note in this step is that although I had copied all of the lines for the takoyaki drawing, I decided for various reasons to only burn the outline instead. For one, my hand had begun to cramp up and I felt that some of the bonito flakes might be too hard to actually burn in and remain recognizable. I aslo felt that the drawing would be too detailed compared to the others.
After all of the coasters had their outlines burned in, I sanded the coasters.

As seen in the image above, this necessitated washing the coasters since the fine wood dust was everywhere and filling in the outlines.
A Big Mistake?
At this point in my life I've wood-burned various things and although I know that I'm not an expert artist and probably don't have the best technique, I felt that in general I knew what I was was doing for this project. However, I threw myself a curveball midway through because I thought I would try to save some times.
After washing the coasters, they need to fully dry before they can be colored and varnished. I usually just let them air dry for a few hours and then keep going. For some reason, I didn't want to wait this time so had the brilliant idea of using the oven at it's lowest setting to dry them more quickly.
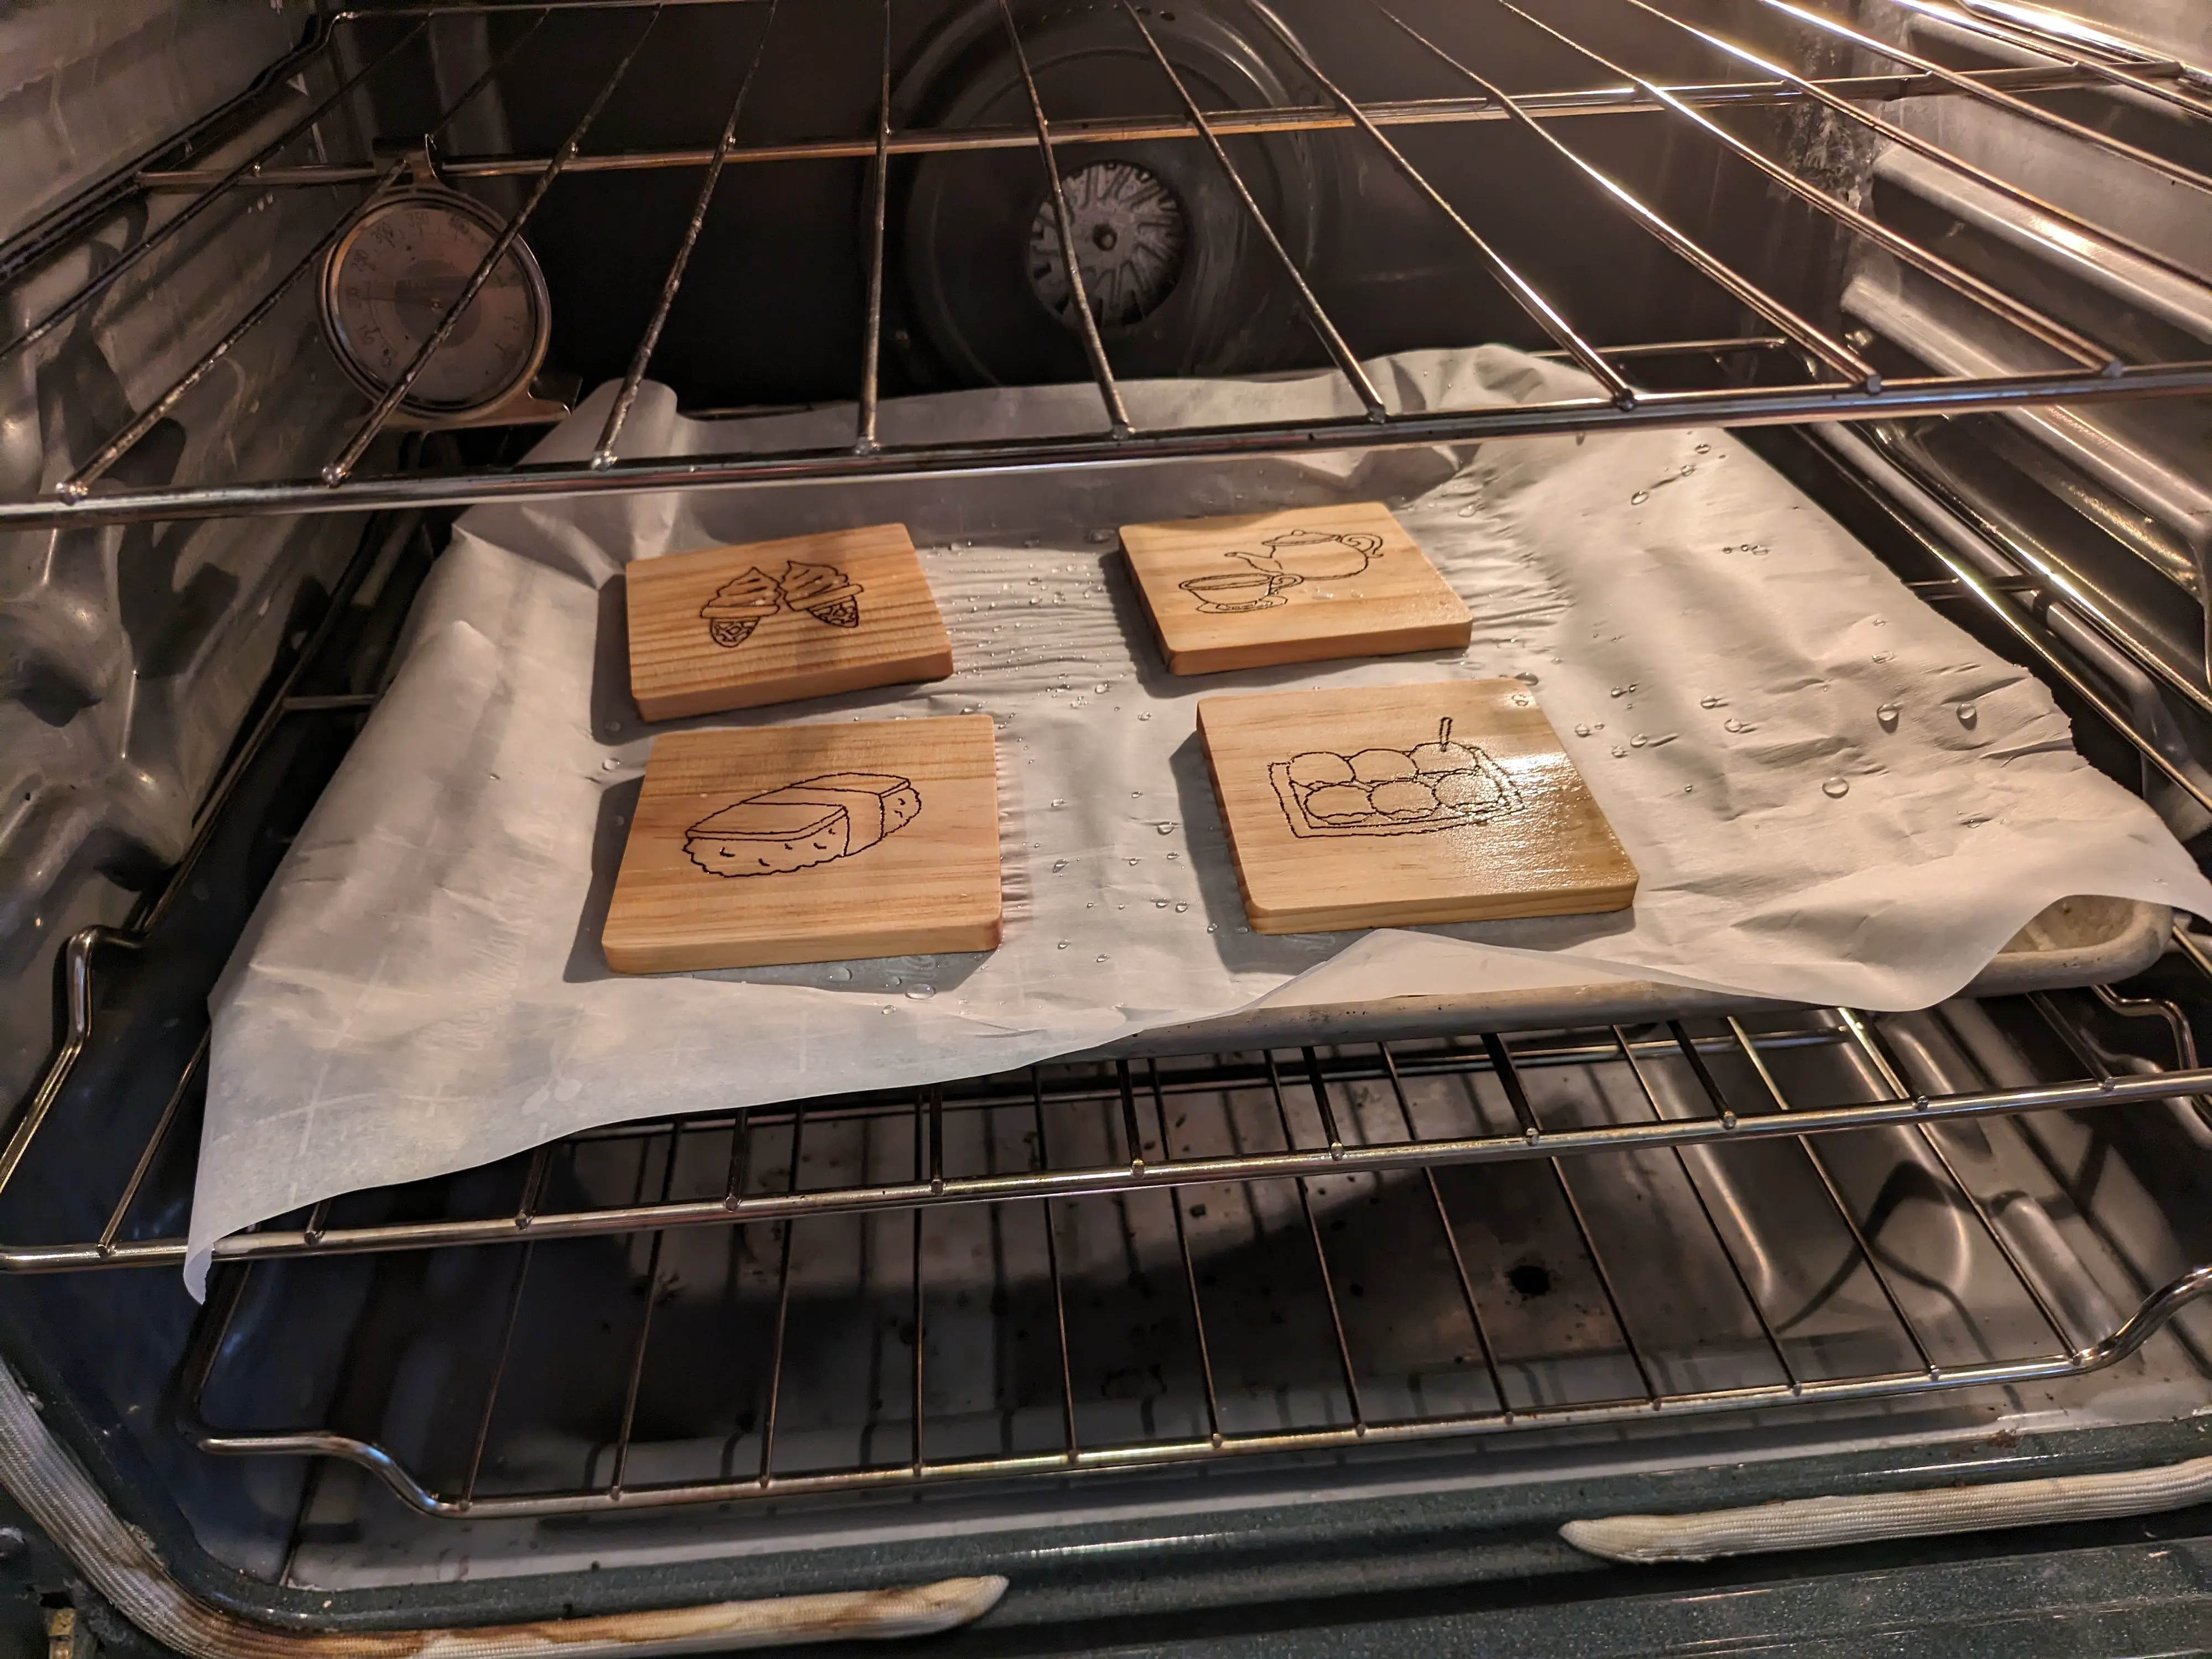 Moments before disaster??
I cannot stress how much I do not recommend this. They did dry much faster but also ended up warping a lot! I think I should have probably expected this to occur but ended up being the shocked Pikachu meme.
The coasters had started off very flat and came out of the oven pretty bowed. I set them under a weight for like 20 or 30 minutes but they still ended up being warped
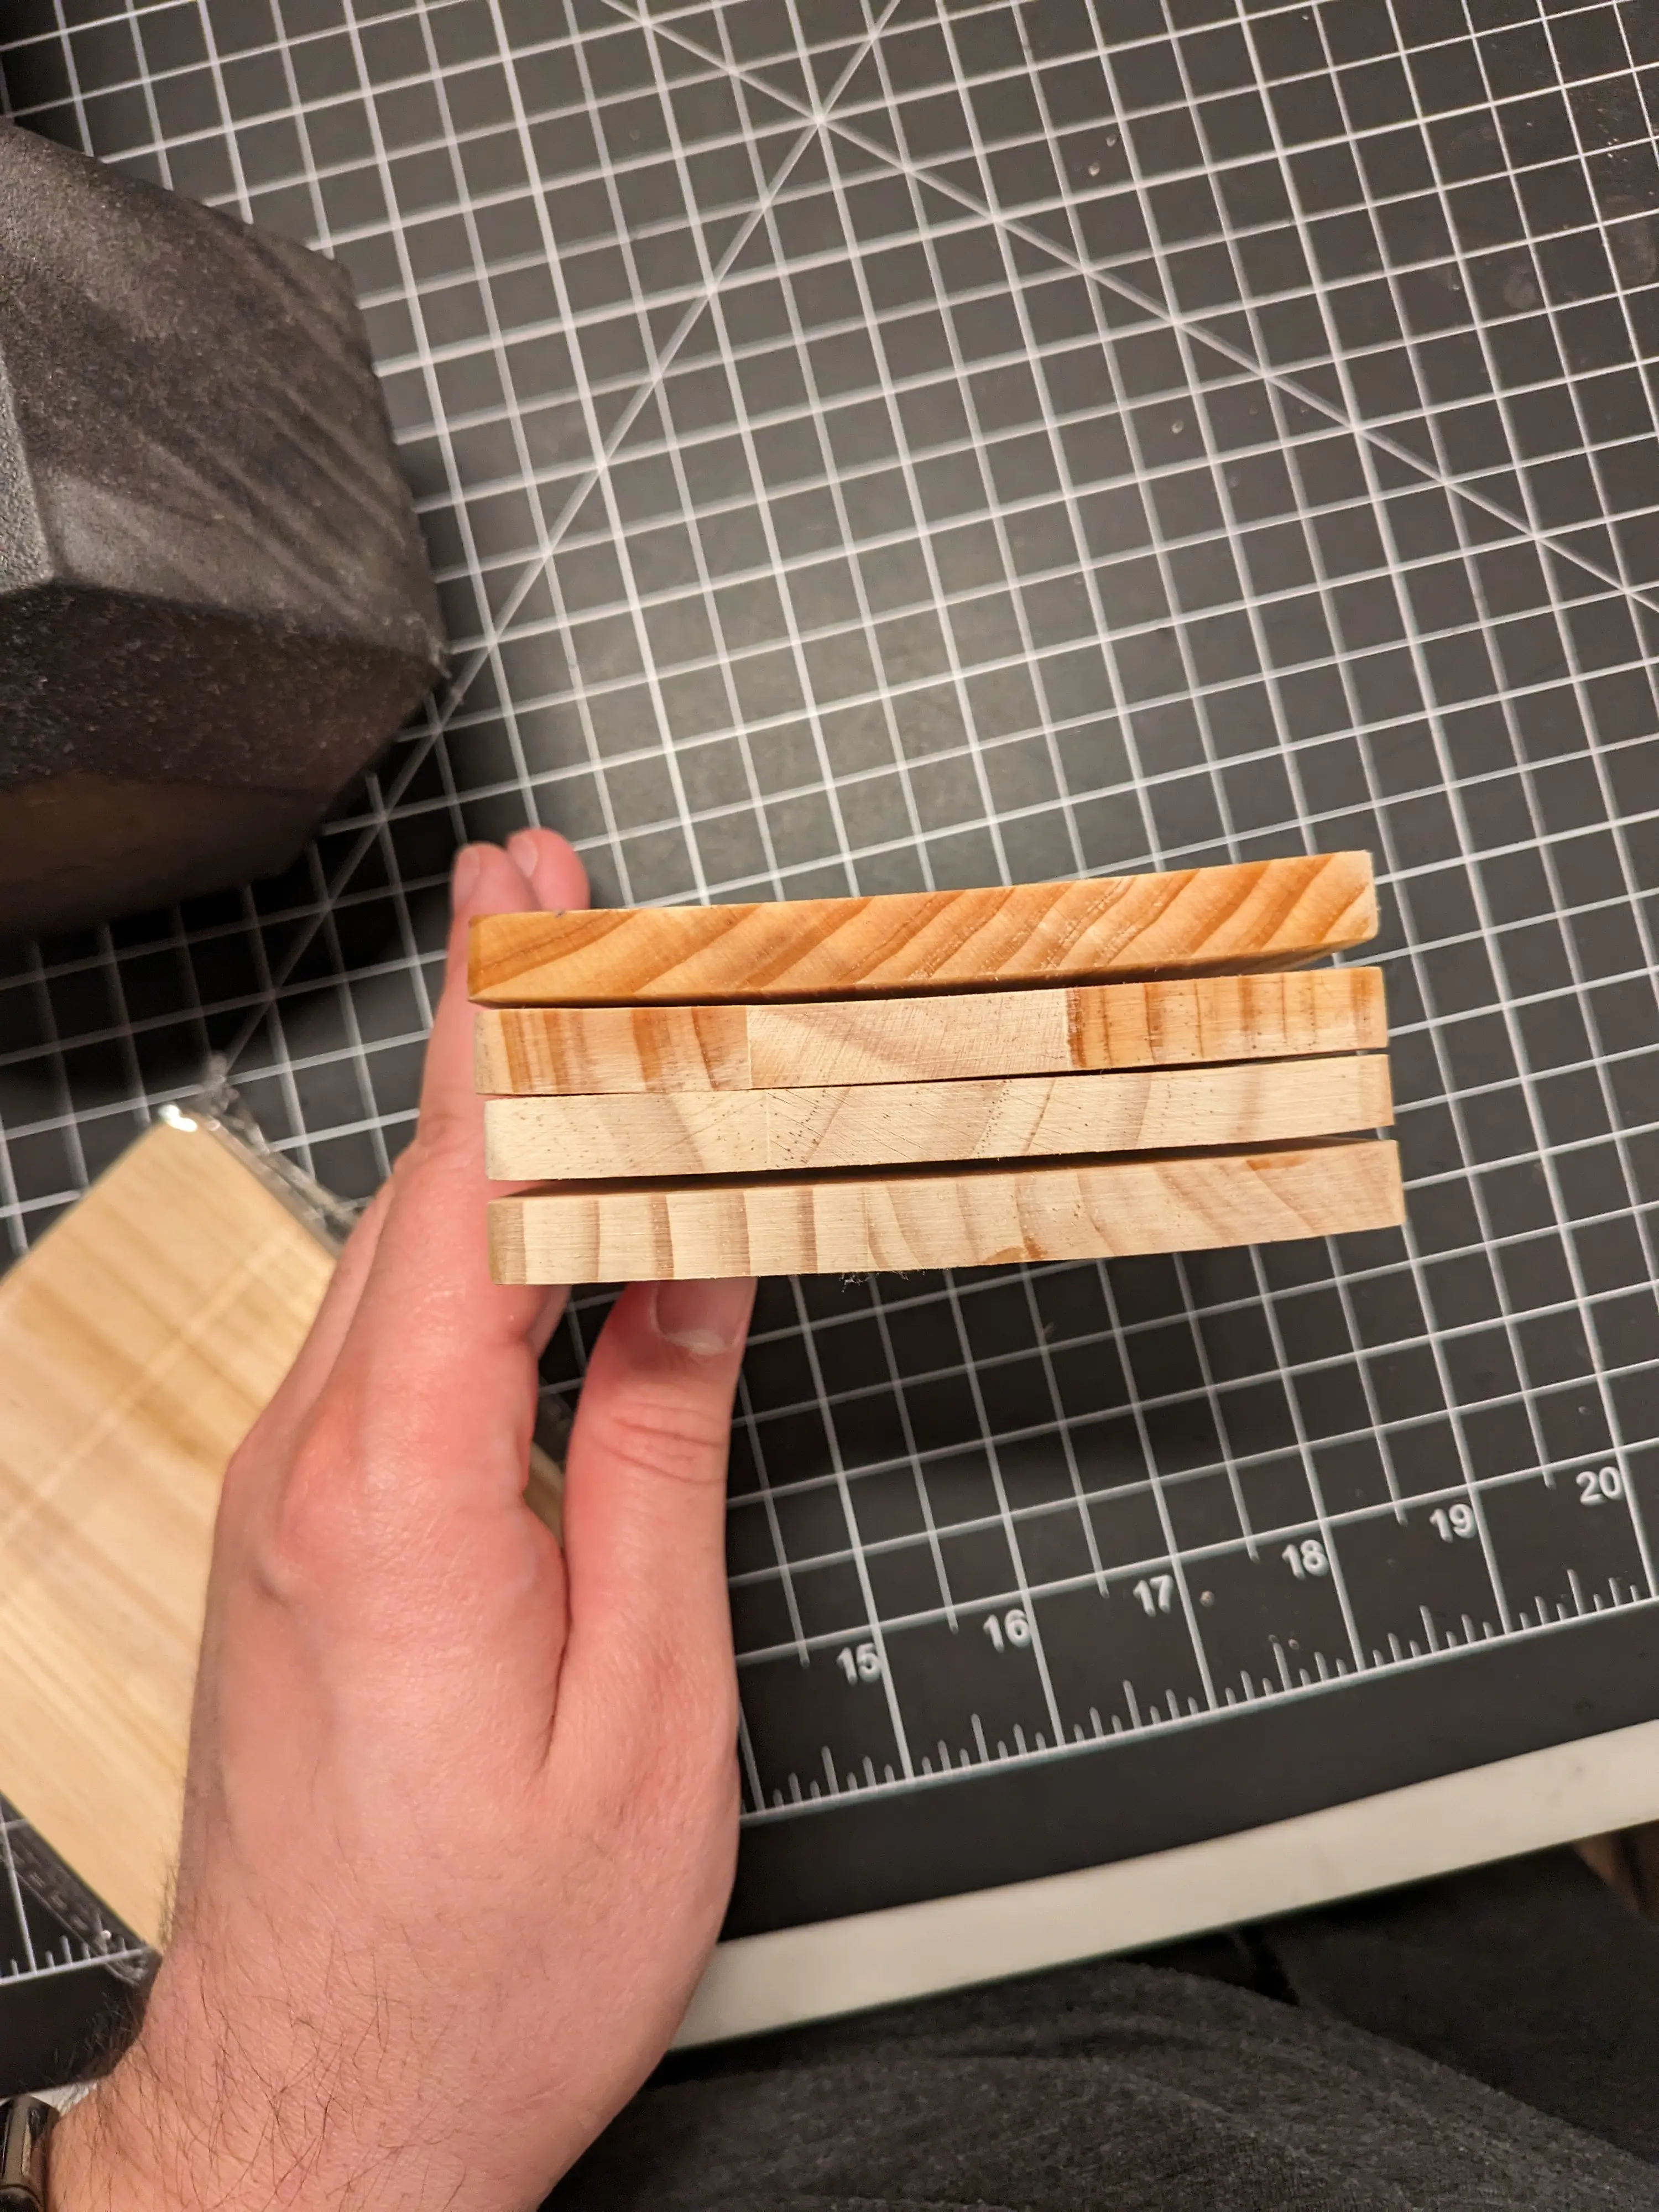
Not wanting to restart from scratch since I already had hand cramps (and because I chose the four best coasters I had already), I longed for a way to solve the problem. Rather than look anything up on the internet, however, I decided that I alone would be responsible for getting myself out of the situation. I decided that the 20 pound weight I had used just hadn't been enough, so I put the weight under something much heavier: my Peloton.
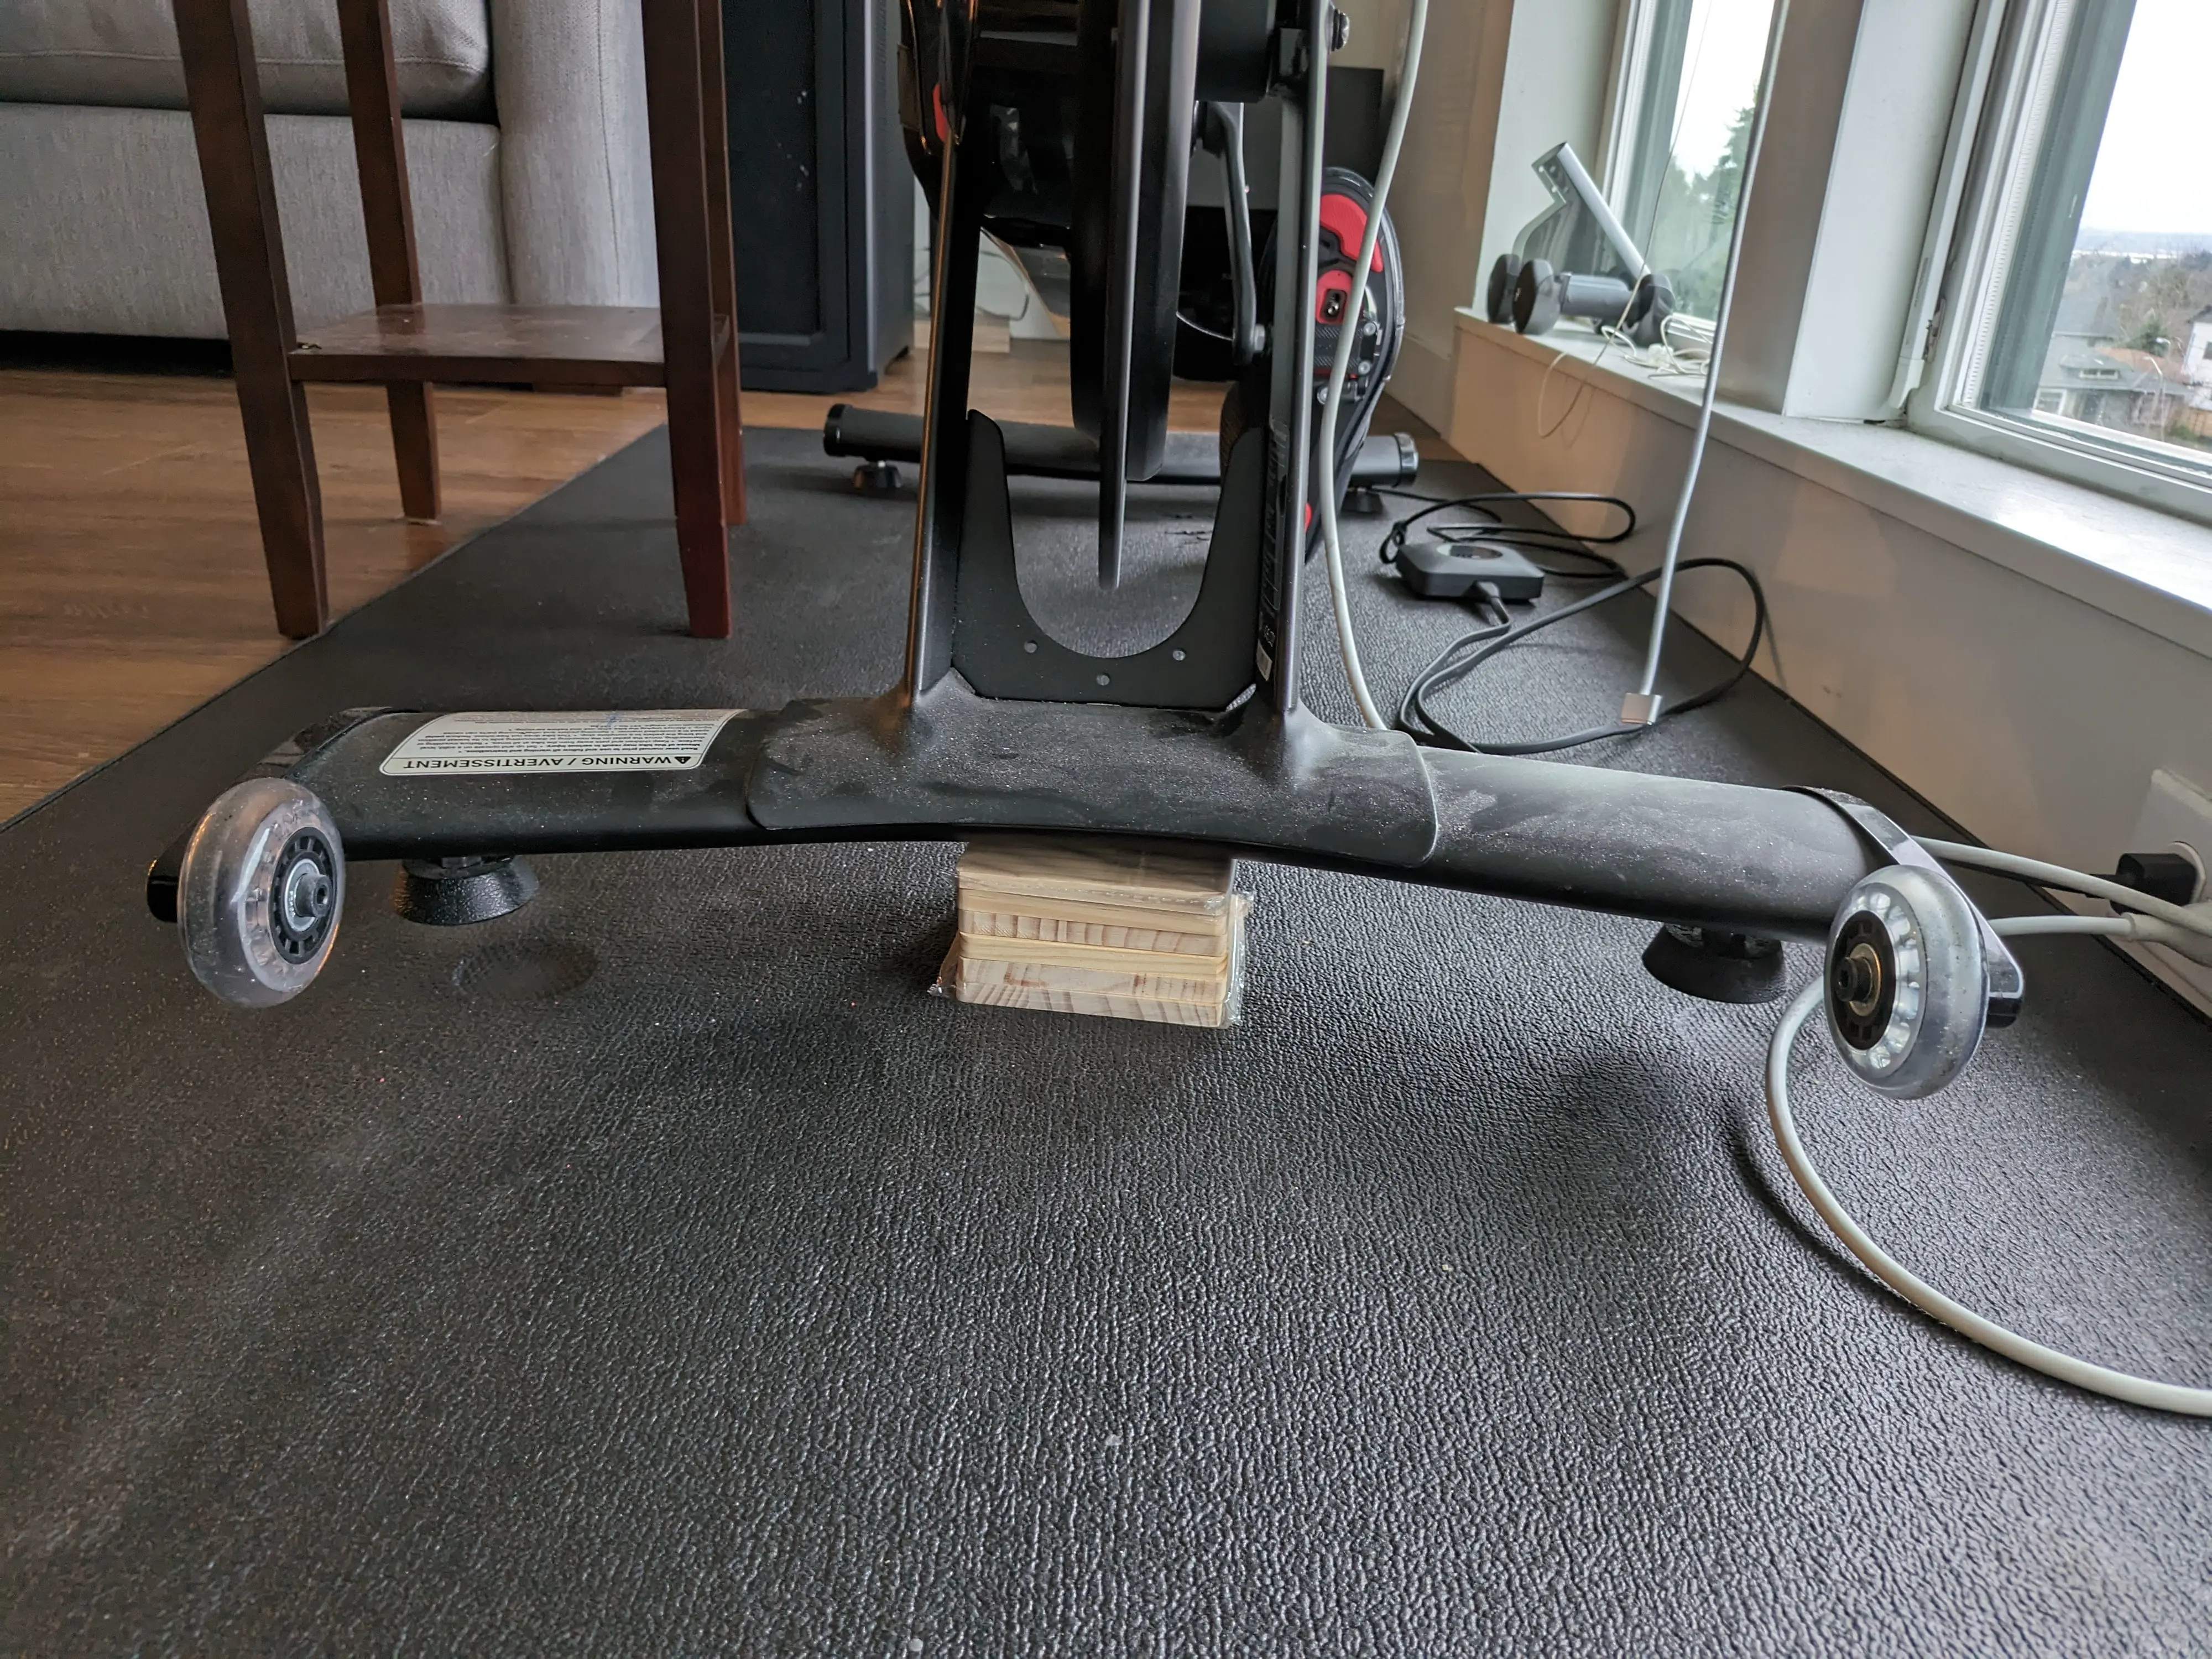 At least it's finally getting some use? JK
In the very end, the coasters turned out mostly flat but I don't know if the weight helped or if they would have gone back to being flat after completely drying and sitting out for a while anyway. Either way, the warping hadn't been good for the coasters which looked like they might start cracking. It also hadn't been good for me since it stressed me out a bit. I also ended up not saving any time at all with this brilliant manoeuvre.
Bringing it Back
After my mishap was basically finished, I chose coloring pencils to use for each coaster and then colored them appropriately. Afterwards, I varnished them (used 4 thin coats this time) and was happy to see that the varnish didn't make the colored pencils run this time, which I had seen a bit in the past. Overall I thught that they turned out pretty well.
I think that the takoyaki one was the weakest and my personal favorite was the Spam musubi.
I also created a video that showcases the process and that I think turned out pretty well. Sorry I couldn't get the shots completely consistent because the lighting kept changing through the day!
In case you are curious, this is how I was shooting the top-down shots:
 Also a cameo from Kokomi from the previous wood burning project I wrote about!
I used the fan both for ventilation when doing the burning but also for drying the coasters when doing the varnish. Can you imagine if I had tried to use the oven for the varnishing step? Ha!
In the end, my friend seemed to really like the outcome. I had fun working on them as well, so that's good. In the past I had considered getting a laser engraver or something similar (these darn Kickstarter projects are too tempting!) but I think that it wouldn't be nearly as special if I did it that way. I haven't actually asked anyone I've given it to if they would care if it's burned by hand versus being burned by machine but I think for now, it makes more sense to do it by hand because to me that feels more special.
Anyway, hope you enjoyed the read and if you have any pro tips for me, definitely leave them in the comments below! Like I said, I'm not an expert and just know enough to get by so I probably still have a lot to learn!
Filed under: