Android Library UI Tests & Firebase Test Lab
by JD Porterfield on updated
This article assumes prior knowledge about both UI testing and Firebase Test Lab. It isn't required to have a great depth of knowledge on either, but this article won't discuss how to setup a project on Firebase, which is a prerequisite for running any sort of Test Lab tests.
UI tests are an invaluable tool in ensuring that our Android applications are functioning properly and that new changes to our codebase aren't breaking existing behavior. In today's modular applications, we may even want to write UI tests per module that launches Fragments and Activities directly without having to do complicated screen interactions to test functionality.
One tool at our disposal when it comes to UI testing is Firebase Test Lab. It allows us to run our UI tests on both virtual and physical devices and can be integrated into CI/CD pipelines with the gcloud command-line interface.
Problems with Test Lab & Library Module Tests
An issue that you may face with Test Lab is trying to test library builds. Since Test Lab only supports .apk and .aab files, the library's generated .aar files cannot be uploaded to Test Lab, even when you try to upload them manually instead of via the command line. Trying to do so will only give a general error:

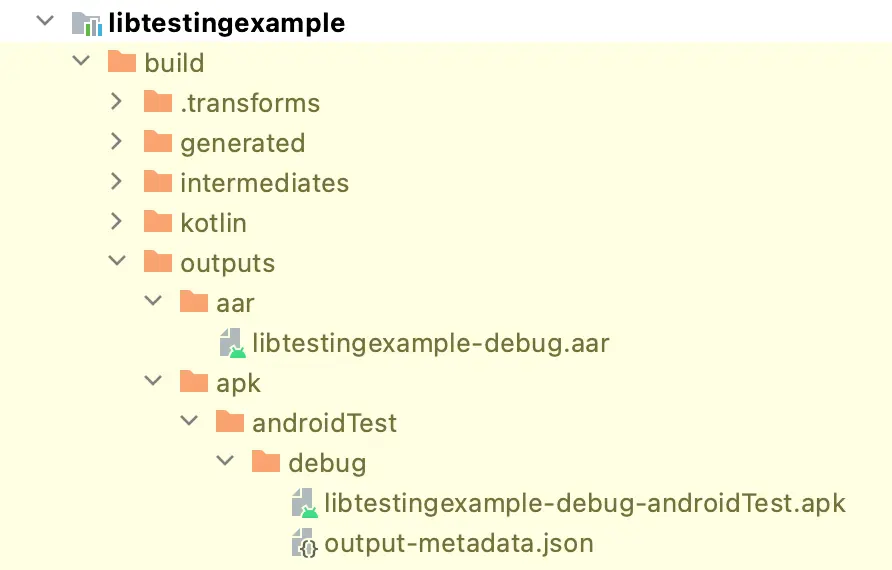
Since the generated androidTest .apk file is used to run library module tests locally, it can be inferred that it contains both the regular library source code and the test code from the androidTest directory. UI tests added in the androidTest directory of a library module still generate a test APK file even when the library's regular output is an AAR file as shown below.
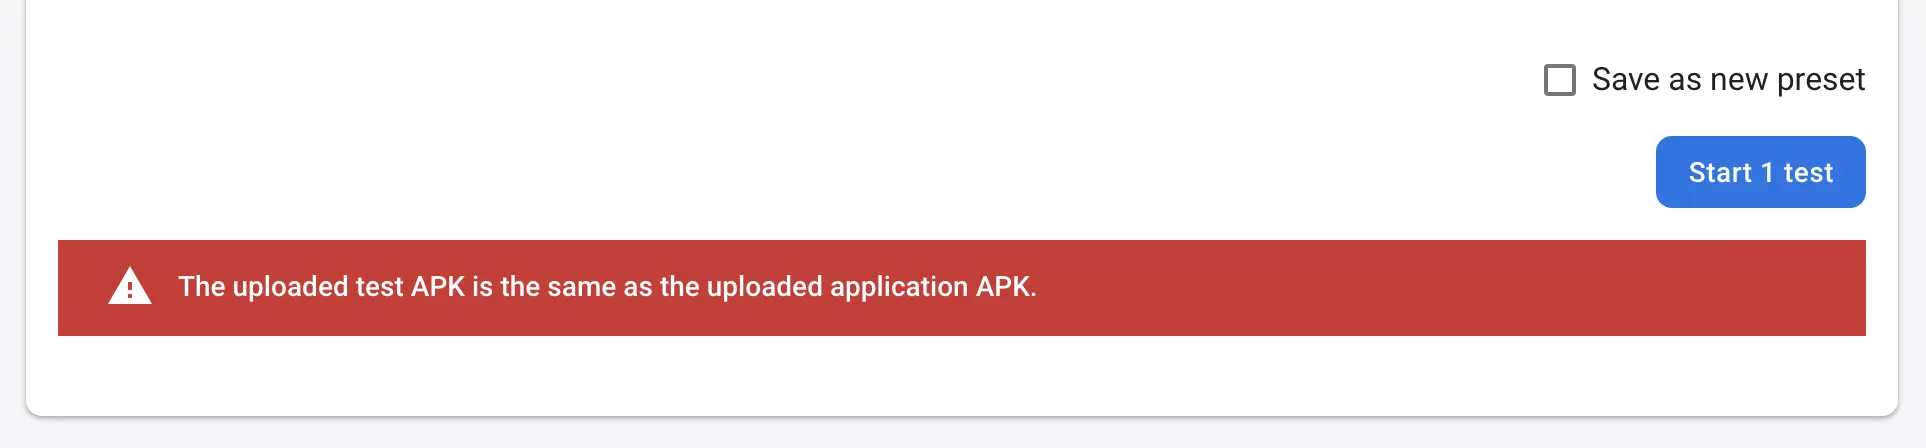
However, even if this APK contains the proper source code, trying to upload the APK file twice as both the test and app APK results in a Test Lab error: "The uploaded test APK is the same as the uploaded application APK". This issue will also come via the command line interface. In other words, Test Lab must have two separate APK files to run the test. Specifically, it appears that the uploaded test and application APK files must have different package names.
One possible way to fix this issue would be to create a sample application module for the library module. This approach works for standalone library projects but may be overly cumbersome if you maintain large numbers of libraries or in multi-module projects where there is a desire to keep the test cases in the same modules as the class-under-test.
A Simple Solution
Since Test Lab requires 2 separate test and app APK files, the androidTest APK can be built twice, with different package names each time. LibraryTestExample is a project I have created to show how this is done.
The first thing that needs to be done is to add the testApplicationId property to the module-level build.gradle file. This property will be used to update the package name of the instrumentation test APK creating when running instrumented tests. By default, if this property is not defined, the module's package name is appended with .test for the test APK. For example, for a module with package name me.jdvp.librarytestexample, the instrumented test APK will have the following package name: me.jdvp.librarytestexample.test.
For the property's value, System.getProperty will be used:
android {
    defaultConfig {
        testApplicationId System.getProperty("testApplicationId", "me.jdvp.librarytestexample.test")

        //... other default config items
    }
}
android {
    defaultConfig {
        testApplicationId = System.getProperty("testApplicationId", "me.jdvp.librarytestexample.test")

        //... other default config items
    }
}
By using System.getProperty, the testApplicationId can be dynamically changed when running the androidTest assemble tasks. System.getProperty takes two parameters itself. The first is the specified property key and the second is the default value if no system property is found. In the example, above me.jdvp.librarytestexample.test since it is the value that would have been used for the sample project if no testApplicationId value had been provided.
After making this change to build.gradle, running the command to assemble the test APK as shown below will generate an APK with a package name of me.jdvp.librarytestexample.test:
./gradlew assembleDebugAndroidTest
However, if using the following command in which the testApplicationId property is defined, the test APK will have a package name of me.jdvp.librarytestexample:
./gradlew assembleDebugAndroidTest -DtestApplicationId=me.jdvp.librarytestexample
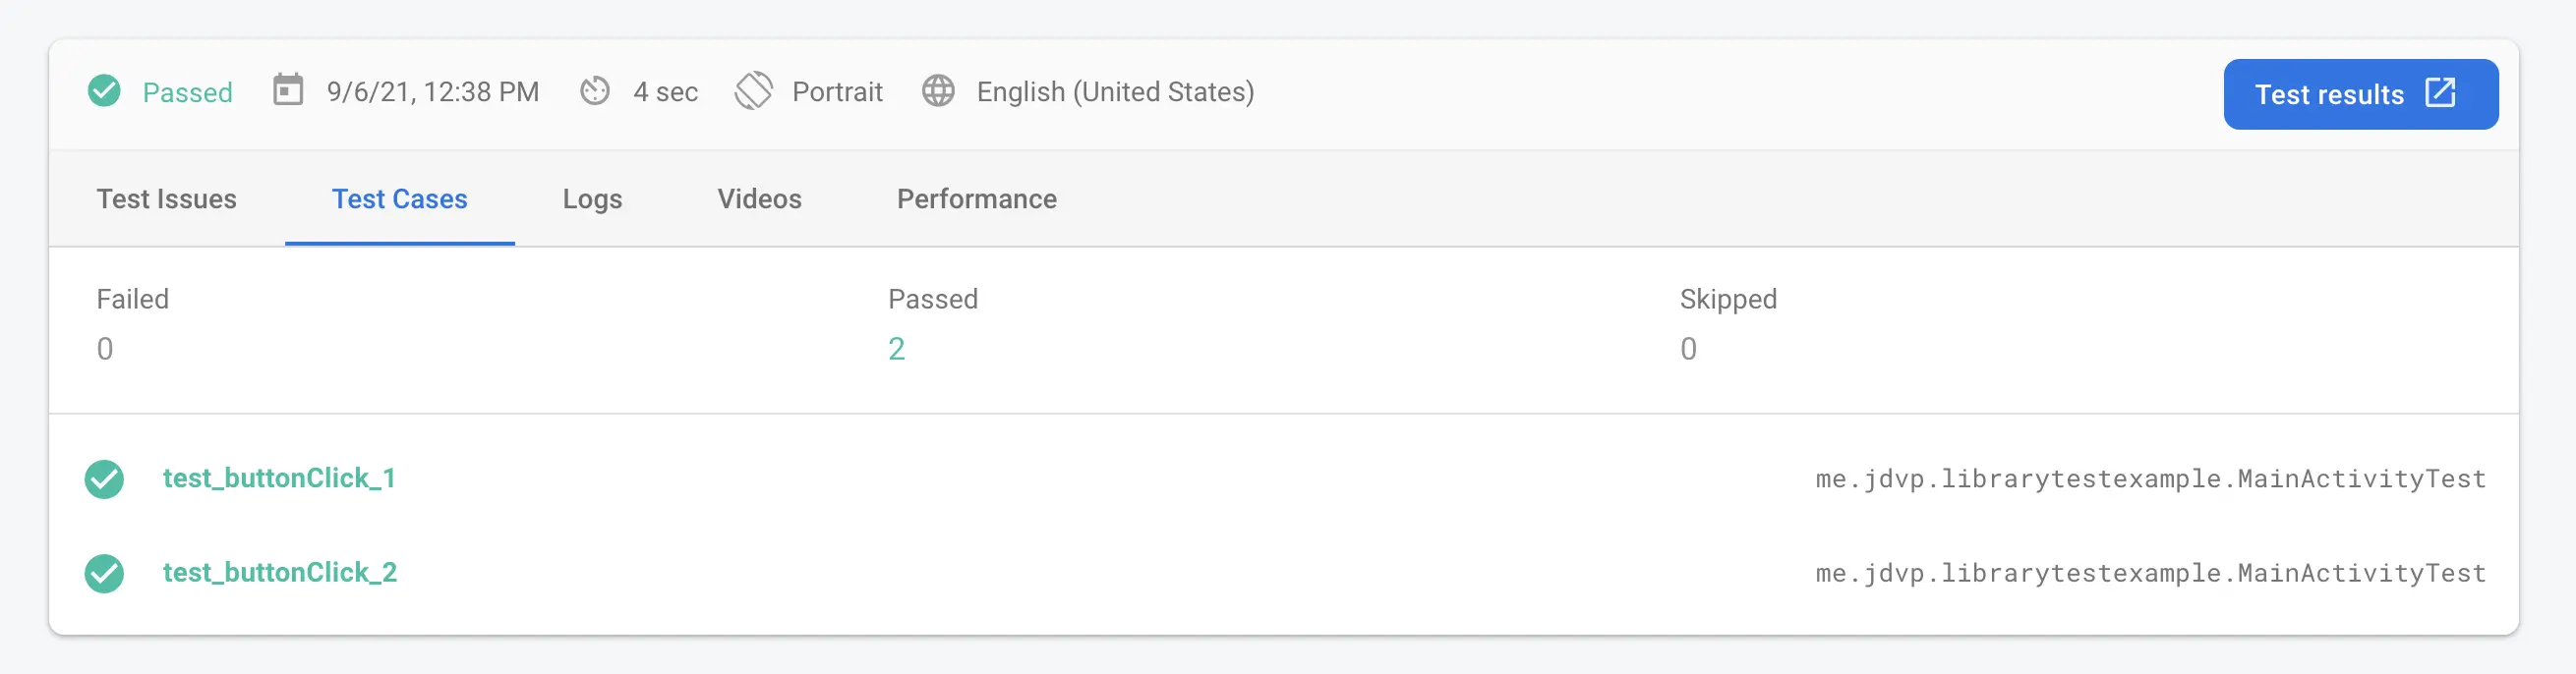
Manually uploading these separate files to Test Lab should allow your tests to run!
Uploading via command line
By default, the gradle commands given above will generate files with the same name. That means that if you run the second command immediately after the first, you will only have 1 APK file remaining in the output directory.
One solution to this is to simply rename the file between each gradle command. If using this approach, the configuration can be handled by CI/CD scripts wherever they live without having to update the project's gradle files any further.
As an example, the sample project leverages GitHub Actions to run the UI tests as a form of commit validation on pushes to master. The build script for this is commit_validation.yml.
Inside the script, the following steps are run which generate the test APK twice and rename it each time. The second time the assemble task is run, a new test application ID is provided in order to ensure distinct package names.
- name: Assemble test apk
  run: ./gradlew assembleDebugAndroidTest

- name: Rename test apk
  run: mv ./libtestingexample/build/outputs/apk/androidTest/debug/libtestingexample-debug-androidTest.apk ./test.apk

- name: Assemble app apk
  run: ./gradlew assembleDebugAndroidTest -DtestApplicationId=me.jdvp.librarytestexample

- name: Rename app apk
  run: mv ./libtestingexample/build/outputs/apk/androidTest/debug/libtestingexample-debug-androidTest.apk ./app.apk
Later, When running gcloud firebase test android to run the instrumentation tests, the renamed files are referenced.
- name: Run test lab tests
  run: |-
    gcloud firebase test android run \
      --type instrumentation \
      --app ./app.apk \
      --test ./test.apk \
      --results-history-name='libtestingexample results' \
      --device model=Pixel2,version=29,locale=en,orientation=portrait
An example of the commit_validation workflow running can be found here.
If the logic for renaming these APKs is to be placed in build.gradle rather than in CI/CD scripts, a potential solution could be renaming the file based on the same system property as used for the package name. This is not used for the sample project but might look like the following.
android {
    testVariants.all { testVariant ->
        testVariant.outputs.all { output ->
            outputFileName = System.getProperty(
                    "testApplicationId",
                    "me.jdvp.librarytestexample.test"
            ) + "-androidTest.apk"
        }
    }
}
android {
    testVariants.all {
        outputs.all {
            (this as? BaseVariantOutputImpl)?.outputFileName = System.getProperty(
                "testApplicationId",
                "me.jdvp.librarytestexample.test"
            ) + "-androidTest.apk"
        }
    }
}
Wrapping Up
UI testing can be an important part of our development processes and allow us to ensure that our code is functioning properly. Although Firebase Test Lab doesn't support testing library-module aar files out of the box, the workaround specified in this article can help test libraries on Firebase Test Lab when the need arises. If you have any comments or questions, feel free to leave them below. If you want to see this in action, take a look at the sample project!
March 26, 2023 Update
I only recently realized I forgot to add a case that may be easier than doing the above for multi-module apps that run UI tests on an individual module's .aar files. If you happen to be able to build the complete application .apk before running UI tests on individual modules, you can upload the module's instrumentation .apk for the gcloud command's --test flag and upload your entire app .apk for the --app flag.
In my opinion, this is only worth it if you can still block your pipeline or CI/CD as you had before, so it might only work in cases where all of the modules are in the same codebase. It's another option to consider though, so keep it in mind!
---
This article is also available on Medium. You can find it
here.Filed under: